
Install Stirr Kodi Addon on FireStick: In this guide, you’ll see how to install the Stirr Kodi Addon without the usual confusing fluff—just a clean, practical walkthrough that actually works (because yes, Kodi can be dramatic sometimes). The best part is it doesn’t matter what device you’re using: it runs smoothly on pretty much anything Kodi supports, whether that’s a FireStick, Fire TV Cube, Android TV, Android phone, iPhone/iPad (iOS), or even your PC or Mac—so no device-snobbery here, just streaming done right.
What Is Stirr?
Stirr is basically one of those free streaming services that survives on ads (yep, the commercials are the “price”), and it’s owned by the Sinclair Broadcast Group. What makes it different is that it leans heavily into live TV, pulling a lot of its channels and programming from Sinclair’s huge lineup of local U.S. TV stations—so it feels a bit like flipping through real cable again, minus the painful bill. And when live stuff gets boring, there’s also a decent mix of on-demand shows and movies sitting there for whenever you feel like binge-watching something random at 2 a.m.
Key Features of Stirr:
- 100% free and legal
- Available on FireStick, Roku, Apple TV, Android TV, iOS, and more
- No sign-up or regional restrictions
- Offers content from various U.S. cities and regions
- Ad-supported, so no subscription is needed
The Stirr Kodi addon is basically the easy-button way to watch Stirr right inside Kodi, without juggling apps or jumping through extra hoops—just open Kodi and boom, the content’s there. It’s smooth, simple, and honestly kind of a no-brainer for anyone who lives in the Kodi ecosystem. And since more people keep discovering it (probably because it’s free and doesn’t make things unnecessarily complicated), it’s earned a spot on the “must-have Kodi addons” list.
Privacy Alert! Your data is exposed to the websites you visit! The information above can be used to track you, target you for ads, and monitor what you do online. We recommend ExpressVPN — the #1 VPN out of over 350 providers we've tested. It has military-grade encryption and privacy features that will ensure your digital security, plus — it's currently offering 48% off. Your IP Address: Loading...
 Your Location: Loading...
 Your Internet Provider: Loading...
Part 1: Enable Unknown Sources in Kodi
Because the Stirr Kodi addon comes from a third-party repo (aka not Kodi’s “official circle of trust”), Kodi blocks it out of the box like an overprotective bouncer. So before installing anything, you’ll need to flip on Unknown Sources—a quick settings tweak that basically tells Kodi, “Relax, it’s fine.” Here’s exactly how to do it:
- Open Kodi and hit the Settings gear icon (top-left on the home screen).
- Tap System (yep, the place where Kodi hides all the important stuff).
- From the left sidebar, select Add-ons, then flip Unknown Sources to ON.
- Kodi will throw a scary warning like you’re hacking the Pentagon—just click Yes and move on.
- Still in that same section (Kodi 19+ only), open Update official add-ons.
- Select Any repositories so Kodi stops acting picky and allows updates from unofficial repos too (including SlyGuy).
- ChatGPT can make mistakes. Check important info. See Cookie Preferences.
Part 2: Install the SlyGuy Repository
The Stirr addon is located within the SlyGuy Repository. Follow these steps to install it:
- Jump back to Kodi Settings (yep, back to the gear icon again—Kodi loves sending people in circles).
- Click File manager.
- Choose Add source (either side works). On PC, a double-click might be needed because… PC things.
- In the pop-up, click <None>.
- Type in the repo URL exactly as provided (Kodi is super petty about typos).
- Under “Enter a name for this media source”, give it something simple you’ll remember—slyguy is the usual choice—then hit OK.
- Head back to Settings and open Add-ons.
- Select Install from zip file.
- Pick slyguy (or whatever name was used earlier).
- Click repository.slyguy.zip.
- Wait a moment until Kodi gives the little victory message in the top-right: “SlyGuy Repository Add-on installed.”
Part 3: Install the Stirr Addon on Kodi
Now that the SlyGuy Repository is installed, you can install the Stirr addon:
- From that same Add-ons area, tap Install from repository (or take the scenic route: Kodi Home > Settings > Add-ons > Install from repository).
- Select SlyGuy Repository.
- Go into Video add-ons (this is where the good stuff lives).
- Scroll down and click Stirr—it’s in there, just hiding like it pays rent.
- Hit Install in the bottom-right corner.
- A popup will show extra add-ons/dependencies Kodi needs—click OK and let it do its thing.
- Give it a few seconds, and once it’s done, Kodi will flash the notification up top: “Stirr Add-on installed.”
You’ve now successfully installed the Stirr Kodi addon!
Best VPNS For Streaming Safely
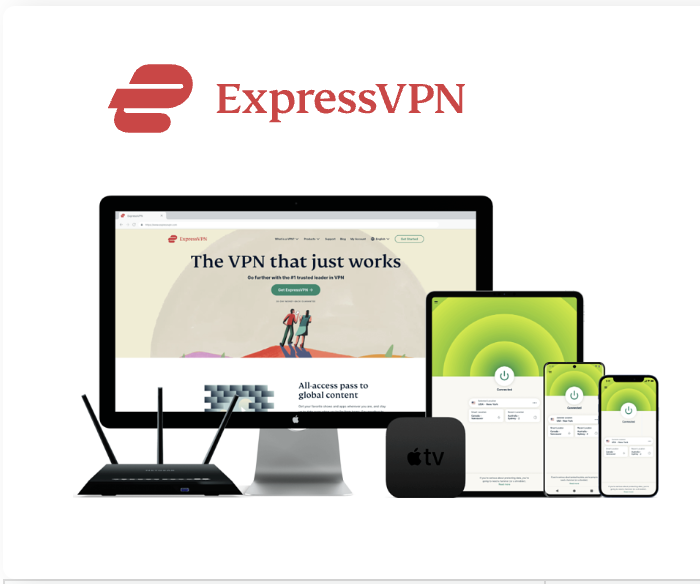
1. ExpressVPN — Best VPN With the Fastest Speeds for Smooth Streaming
Best Feature
The fastest speeds we tested, ensuring you can stream, browse, game, and torrent without interruptions
Server Network
3,000 servers in 105 countries give you fast worldwide connections
Simultaneous Device Connections
Up to 8, so you can protect your compatible devices under one subscription
Works With
Netflix, Disney+, Amazon Prime Video, BBC iPlayer, (HBO) Max, Hulu, Vudu, DAZN, and more
2. NordVPN — Best VPN With the Fastest Speeds for Smooth Streaming
![]()
Best Feature
High security features and fast speeds for a reliable connection
Server Network
5,400 servers in 60 countries for improved accessibility and connection speeds
Simultaneous Device Connections
Up to 6 devices, suitable for protecting multiple devices simultaneously
Works With
Netflix, Disney+, Amazon Prime Video, BBC iPlayer, (HBO) Max, Hulu, Vudu, DAZN, and more


Guidelines Before Streaming with Kodi Addons or Builds
Before diving into Kodi add-ons or builds, here’s the uncomfortable truth: whatever gets streamed isn’t exactly private—your ISP can see it, and in some cases even authorities can peek in too, which makes “free” movies, live TV, or sports streams a little less harmless than they look (legal headaches are never fun). The easiest way to keep things calm and low-key is using a VPN, which basically hides the real IP address and keeps online activity from being an open book; as a bonus, it can also help dodge ISP throttling, annoying geo-blocks, and extra tracking. ExpressVPN is a solid pick for this—fast, secure, and works smoothly on pretty much every streaming device, including Kodi—so it’s one of the few tools that actually feels worth recommending without regret.
Set Up ExpressVPN for Kodi in 3 Simple Steps
- Subscribe ExpressVPN first — it comes with a 30-day money-back guarantee, so there’s basically no “what if I hate it?” stress.
- Download and install the ExpressVPN app on your device (FireStick users, don’t worry—steps are coming right below).
- Open the app and hit the Power button to connect to a secure server — boom, you’re instantly more private and protected.
- Create your ExpressVPN account (if it’s not already done) and subscribe through their official signup page.
- On your FireStick home screen, go to Find → Search.
- Type ExpressVPN in the search bar and select it from the suggestions (the correct one will pop up fast).
- Click Download and let it install (takes like a minute unless your Wi-Fi is having a bad day).
- Launch the app and log in using the same email + password you used when signing up.
- Finally, press that big Power icon again to connect to the fastest available server — and you’re good to stream without feeling watched.
How to Use the Stirr Kodi Addon
To start using Stirr:
- Return to Kodi’s home screen and go to Add-ons from the left-hand menu.
- In the Video add-ons section, locate and open the Stirr addon. You may see a donation popup. If you’re interested, follow the instructions. Otherwise, press the back button to dismiss it.
Exploring the Stirr Kodi Addon
The main screen of the Stirr addon includes four options:
- Live TV
- My Channels
- Search
- Settings
Under Live TV, you’ll find categories like:
- All
- Classic TV
- Entertainment
- Food & Travel
- Local & Popular
- Movies
- Music, and more
Once a category is picked, a full channel list pops up, and when launching a channel for the first time, Kodi might do that classic “one more thing” move and ask to install an extra add-on—just hit Yes and roll with it. A quick playback quality box will flash on screen for a second, but no need to overthink it: it’s set to “Best” by default, and the stream usually kicks off automatically like it knows everyone’s too impatient to press play twice.
How to Manually Select Playback Quality
If you want to choose the quality yourself:
- From the Stirr home screen, click Settings.
- Go to Playback on the left.
- Change the Playback Quality setting to Ask using the navigation buttons.
- Click OK to save your preference.
Best VPN deals this week:

Wrapping Up
So that’s it—this guide covered how to install and use the Stirr Kodi addon on basically any Kodi-friendly device, whether that’s a FireStick, Android TV, phone, iOS, PC, or Mac (Kodi really doesn’t discriminate). Stirr brings a surprisingly solid mix of free live channels and on-demand stuff, with ads doing the dirty work of paying the bills. And to keep streaming smooth—and your connection a little less “public information”—pairing it with a trusted VPN like ExpressVPN is a smart move for safer, buffer-free watching.
Best VPNs for Streaming — Final Score:
Rank
Provider
Overall Score
Best Deal

9.8
★★★★★
save 84%
VISIT WEBSITE >
9.6
★★★★★
save 83%
VISIT WEBSITE >
9.4
★★★★★
save 84%
VISIT WEBSITE >

